Introduction
Have you ever had a dessert that was as delightful to look at as it was to eat? Enter brownie cake pops, the perfect combination of rich, fudgy brownies and whimsical presentation. These bite-sized treats are incredibly versatile, making them a hit at birthday parties, weddings, and even casual gatherings. Whether you’re a baking enthusiast or just someone with a sweet tooth, brownie cake pops are a creative way to satisfy your dessert cravings.
In this article, we’ll guide you through everything you need to know about making, decorating, and enjoying brownie cake pops. From the essential ingredients to common mistakes to avoid, you’ll have all the tools and tips necessary to create your own delicious batch of these crowd-pleasing treats.
The Allure of Brownie Cake Pops
Why Are They So Popular?
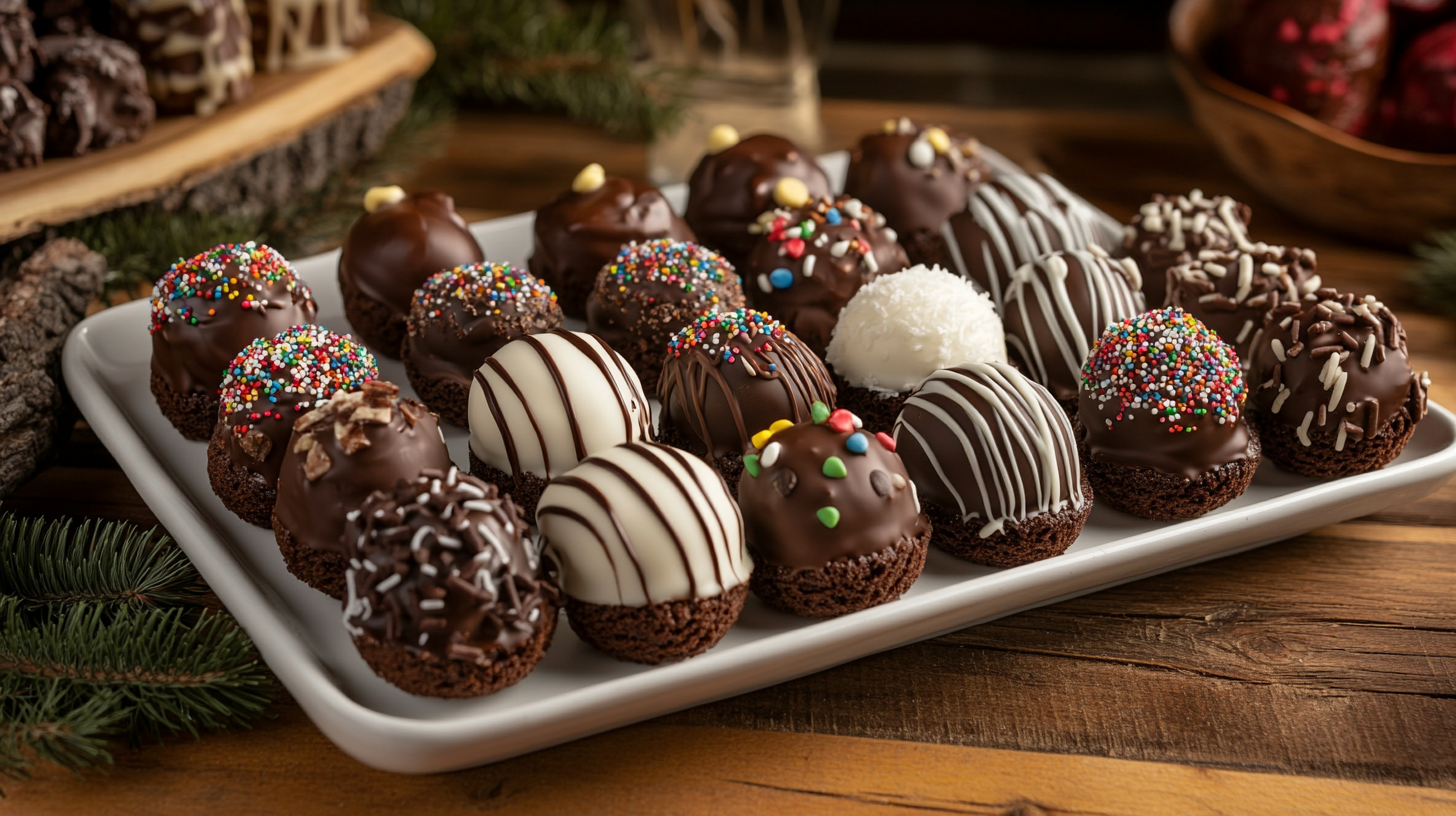
The popularity of brownie cake pops lies in their appeal to all senses. Their smooth chocolate coating, paired with a dense and gooey brownie interior, offers a texture that’s hard to resist. Moreover, they’re perfect for any occasion because they can be customized to suit themes, events, or personal preferences.
Beyond their taste, brownie cake pops are portable and mess-free. No need for plates or forks—just grab a stick and enjoy! Plus, they have a longer shelf life than other desserts, making them perfect for parties where preparation ahead of time is key.
Versatile Occasions: From Birthdays to Weddings
One of the best things about brownie cake pops is how adaptable they are. Planning a kids’ birthday party? Decorate them with sprinkles and candy shapes. Hosting a sophisticated wedding? Opt for white chocolate and edible gold details. With the right decorations, brownie cake pops can effortlessly match any theme, ensuring they’re always the star of the dessert table.
Ingredients for Perfect Brownie Cake Pops
The Essentials: Ingredients Overview
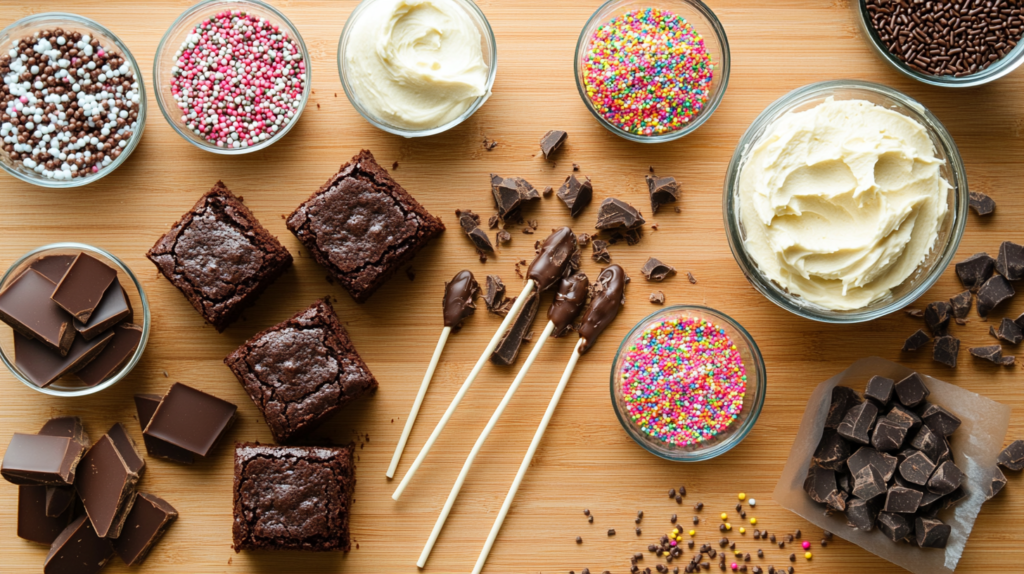
To make brownie cake pops, you’ll need only a handful of ingredients. The basics include:
- Brownies: You can bake your own or use store-bought brownies.
- Frosting: This acts as a binder to hold the brownie crumbs together.
- Chocolate Coating: Use candy melts, chocolate chips, or compound chocolate.
Choosing the Best Brownies for Cake Pops
The key to a great brownie cake pop starts with the brownies. Fudgy brownies work best because they crumble easily and mix well with frosting. Avoid dry or cakey brownies as they may fall apart during shaping or dipping.
Picking the Right Chocolate Coating
Not all chocolate coatings are created equal. Candy melts are the most user-friendly since they’re designed to harden quickly and evenly. If you prefer real chocolate, consider tempering it to achieve a glossy finish that won’t melt easily.
Additional Decorations: Sprinkles, Nuts, and More
Once coated, brownie cake pops become a blank canvas for creativity. Here are some fun decoration options:
Edible Glitter: For a touch of sparkle.
Sprinkles: Perfect for a pop of color.
Crushed Nuts: Add texture and a nutty flavor.
Drizzled Chocolate: Use a contrasting color for a professional look.
Tools Needed
Cake Pop Sticks
Cake pop sticks are essential for holding and serving these treats. Available in various lengths and materials, these sticks can be found at most baking supply stores or online. For a sturdier option, opt for wooden or plastic sticks, especially if you plan to transport your brownie cake pops.
Mold or Hand-Rolling Techniques
You can shape your brownie cake pops in two ways:
- Using a Cake Pop Mold: These molds ensure uniform size and shape. Simply press the brownie mixture into the mold, close it, and remove perfectly shaped balls.
- Hand Rolling: If you prefer a more hands-on approach, scoop the mixture with a small cookie scoop and roll it into balls using your palms. Chill the balls to firm them up before inserting the sticks.
Dipping Tools and Drying Stands
- Dipping Tools: A dipping fork or skewer helps you coat the brownie pops evenly in chocolate.
- Drying Stand: A stand prevents the pops from smudging as they dry. If you don’t have one, a foam block or an upside-down colander can work as a DIY solution.
Step-by-Step Guide to Making Brownie Cake Pops

Step 1: Baking or Sourcing Brownies
Start with a batch of brownies. You can bake them from scratch using your favorite recipe or save time with store-bought ones. Let them cool completely before crumbling them, as warm brownies may become too sticky.
Step 2: Crumbling Brownies and Mixing with Frosting
Once the brownies have cooled, crumble them into fine pieces using your hands or a food processor. Gradually add frosting (start with 1-2 tablespoons) and mix until the texture resembles dough. The mixture should hold together when pressed but not feel too wet.
For an innovative twist, try incorporating elements from these healthy brownies into your mix.
Step 3: Shaping Into Cake Pop Balls
Scoop small portions of the mixture (about the size of a ping-pong ball) and roll them into smooth balls. Consistency in size helps ensure even coating and presentation. Place the balls on a lined baking sheet.
Step 4: Inserting the Sticks Properly
Dip the tip of each cake pop stick into melted chocolate before inserting it into a brownie ball. This step acts as glue, ensuring the stick stays in place. Insert the stick about halfway into each ball.
Pair these pops with a warm mug of Oreo hot chocolate for the ultimate dessert combo.
Step 5: Chilling for Firmness
Chill the brownie balls in the refrigerator for at least 30 minutes, or place them in the freezer for 15 minutes. This step is crucial for maintaining their shape during dipping.
Step 6: Dipping Into Melted Chocolate
Melt your chocolate or candy melts in a microwave or over a double boiler. Dip each cake pop into the chocolate, ensuring it’s fully coated. Tap the stick gently on the edge of the bowl to remove excess chocolate.
Step 7: Decorating With Toppings
Before the chocolate sets, quickly add your chosen decorations. Use sprinkles, crushed nuts, or drizzled chocolate to enhance the look and flavor. Place the pops upright in a drying stand or foam block until the coating hardens.
Tips and Tricks for the Best Results
Preventing Cracks During Dipping
To avoid cracks, ensure the brownie balls are at room temperature before dipping. Sudden temperature changes between cold cake pops and warm chocolate can cause the coating to crack.
Achieving a Smooth Chocolate Coating
Use a deep, narrow bowl for dipping to get a smooth, even coating. Gently swirl the pops in the melted chocolate rather than stirring vigorously.
Balancing Sweetness and Texture
If you find the combination of brownies and frosting too sweet, reduce the frosting or add a pinch of salt to the mixture. For extra texture, consider mixing in crushed cookies or toffee bits.
Flavor Variations
Adding Nuts or Dried Fruits to the Mix
For an added layer of texture and flavor, incorporate finely chopped nuts (like almonds, pecans, or walnuts) or dried fruits (such as cranberries or raisins) into the brownie mixture. These additions create a delightful crunch or chewiness that pairs beautifully with the rich chocolate coating.
Peanut Butter Brownie Cake Pops
Peanut butter lovers, rejoice! Mix a couple of tablespoons of peanut butter into the brownie and frosting mixture for a nutty twist. Alternatively, drizzle melted peanut butter over the coated cake pops for a visually appealing and flavorful topping.
Vegan or Gluten-Free Options
To make brownie cake pops vegan or gluten-free, use suitable substitutes:
- Replace eggs in the brownie recipe with flax eggs or applesauce.
- Use gluten-free flour blends for baking.
- Opt for dairy-free frosting and chocolate coating.
With these swaps, everyone can enjoy these delightful treats without dietary concerns.
Holiday-Themed Flavor Profiles
Add seasonal twists to your brownie cake pops for festive occasions:
- Peppermint: Add crushed candy canes or peppermint extract during the mixing process.
- Pumpkin Spice: Mix in a teaspoon of pumpkin spice and use white chocolate for dipping.
- Gingerbread: Add cinnamon, ginger, and nutmeg to the mix and decorate with icing details.
Creative Decoration Ideas

Themed Decorations for Special Events
Transform your brownie cake pops into themed masterpieces! For example:
- Kids’ Parties: Use colorful sprinkles, candy googly eyes, or edible confetti.
- Weddings: Opt for elegant designs with white chocolate, pearls, and edible flowers.
- Holidays: Create jack-o’-lanterns, snowmen, or hearts for specific celebrations.
Using Edible Glitter and Luster Dust
For a glamorous touch, dust the chocolate coating with edible glitter or luster dust. These sparkly details elevate your brownie cake pops for formal events or festive occasions.
Creating a Display or Cake Pop Bouquet
Presentation matters! Instead of serving the cake pops on a flat plate, arrange them in a stand or create a bouquet:
- Use foam blocks covered with decorative paper to hold the pops upright.
- Group them into bunches, tie the sticks with ribbons, and place them in a vase for a bouquet effect.
Storing Brownie Cake Pops
How to Store at Room Temperature
If you’re serving the cake pops within a day or two, store them in an airtight container at room temperature. Keep them away from direct sunlight or heat to prevent the chocolate from melting.
Freezing Cake Pops for Later
For longer storage, freeze the brownie cake pops. Wrap each one individually in plastic wrap and place them in an airtight container or freezer bag. When ready to enjoy, let them thaw at room temperature for about an hour.
How Long They Stay Fresh
In the Freezer: Up to 3 months.
Proper storage ensures that your brownie cake pops remain fresh and delicious for any occasion.
At Room Temperature: 2-3 days.
In the Refrigerator: Up to 1 week.
Common Mistakes and How to Avoid Them
Over-Mixing the Brownie and Frosting
Adding too much frosting can result in a wet, overly sweet mixture that’s difficult to shape. Start with small amounts and add gradually until the mixture holds together but isn’t sticky. If you overdo it, add more crumbled brownies to balance the texture.
Cake Pops Falling Off Sticks
One of the most frustrating issues is when the pops fall off the sticks during dipping. To avoid this:
- Ensure the brownie balls are firm and well-chilled before dipping.
- Dip the stick into melted chocolate before inserting it into the brownie ball—this acts as a glue to secure the stick.
- Avoid making the brownie balls too large or heavy.
Uneven Coatings or Melted Decorations
Uneven coatings or decorations melting off can ruin the presentation. To fix this:
- Use melted chocolate at the right consistency—not too hot or too thick.
- Allow the coating to set completely before adding additional decorations.
- Work in small batches to prevent the brownie pops from warming up too much during decorating.
Serving Ideas
Individually Wrapped Treats
Wrap each brownie cake pop in a clear plastic bag and tie it with a ribbon for a professional and polished look. This works well for party favors or gifts. Add a personalized tag to make it extra special.
Adding Them to Dessert Tables
Arrange your brownie cake pops on a tiered dessert stand to create an eye-catching display. Pair them with cupcakes, cookies, and other treats for variety. This setup is ideal for weddings, baby showers, or birthdays.
Gift Boxes and Creative Packaging
Place several brownie cake pops in a decorative gift box lined with tissue paper. This is a wonderful option for holidays, teacher gifts, or simply showing appreciation. Use colorful or themed packaging to match the occasion.
FAQs About Brownie Cake Pops
How Long Do Brownie Cake Pops Last?
Brownie cake pops can last:
- At Room Temperature: Up to 3 days.
- In the Refrigerator: Up to 7 days.
- In the Freezer: Up to 3 months (properly wrapped).
Can I Use Store-Bought Brownies?
Absolutely! Store-bought brownies work well, especially if you’re short on time. Just make sure they’re fudgy rather than cakey for the best results.
What Type of Chocolate Works Best for Dipping?
Candy melts are the easiest option as they melt smoothly and set quickly. If using real chocolate, choose high-quality dark, milk, or white chocolate and temper it for a glossy finish.
Are Brownie Cake Pops Suitable for Kids?
Yes, brownie cake pops are kid-friendly! Just be mindful of decorations like nuts or hard candies that may pose choking hazards for younger children.
How Can I Make Them Nut-Free or Allergen-Friendly?
To make nut-free brownie cake pops:
- Use nut-free brownies and frosting.
- Avoid decorations that contain nuts or were processed in facilities handling nuts.
For other allergens, substitute ingredients as needed, such as dairy-free chocolate for a lactose-intolerant guest.
Do I Need Special Equipment to Make Cake Pops?
No, you don’t need fancy equipment. You can roll the brownie balls by hand, use skewers instead of sticks, and create a DIY drying stand with items like foam blocks. However, tools like molds and dipping forks can make the process easier.
Conclusion
Brownie cake pops are more than just a dessert—they’re an experience. With their rich, fudgy centers and customizable coatings, they bring joy to every bite and occasion. Whether you’re crafting them for a casual family gathering, an elegant wedding, or a festive holiday celebration, these treats are guaranteed to impress.
By following the tips and step-by-step instructions in this guide, you’ll have everything you need to make delicious and visually stunning brownie cake pops. Experiment with flavors, get creative with decorations, and most importantly, have fun! There’s nothing quite like sharing homemade treats with friends and loved ones—and brownie cake pops are sure to leave a lasting impression.
For more dessert inspiration, explore this decadent cheesecake cake recipe.